Showing posts with label Cheesecake. Show all posts

Friday, May 2, 2014

Chocolate Peanut Butter Cup Cheesecake


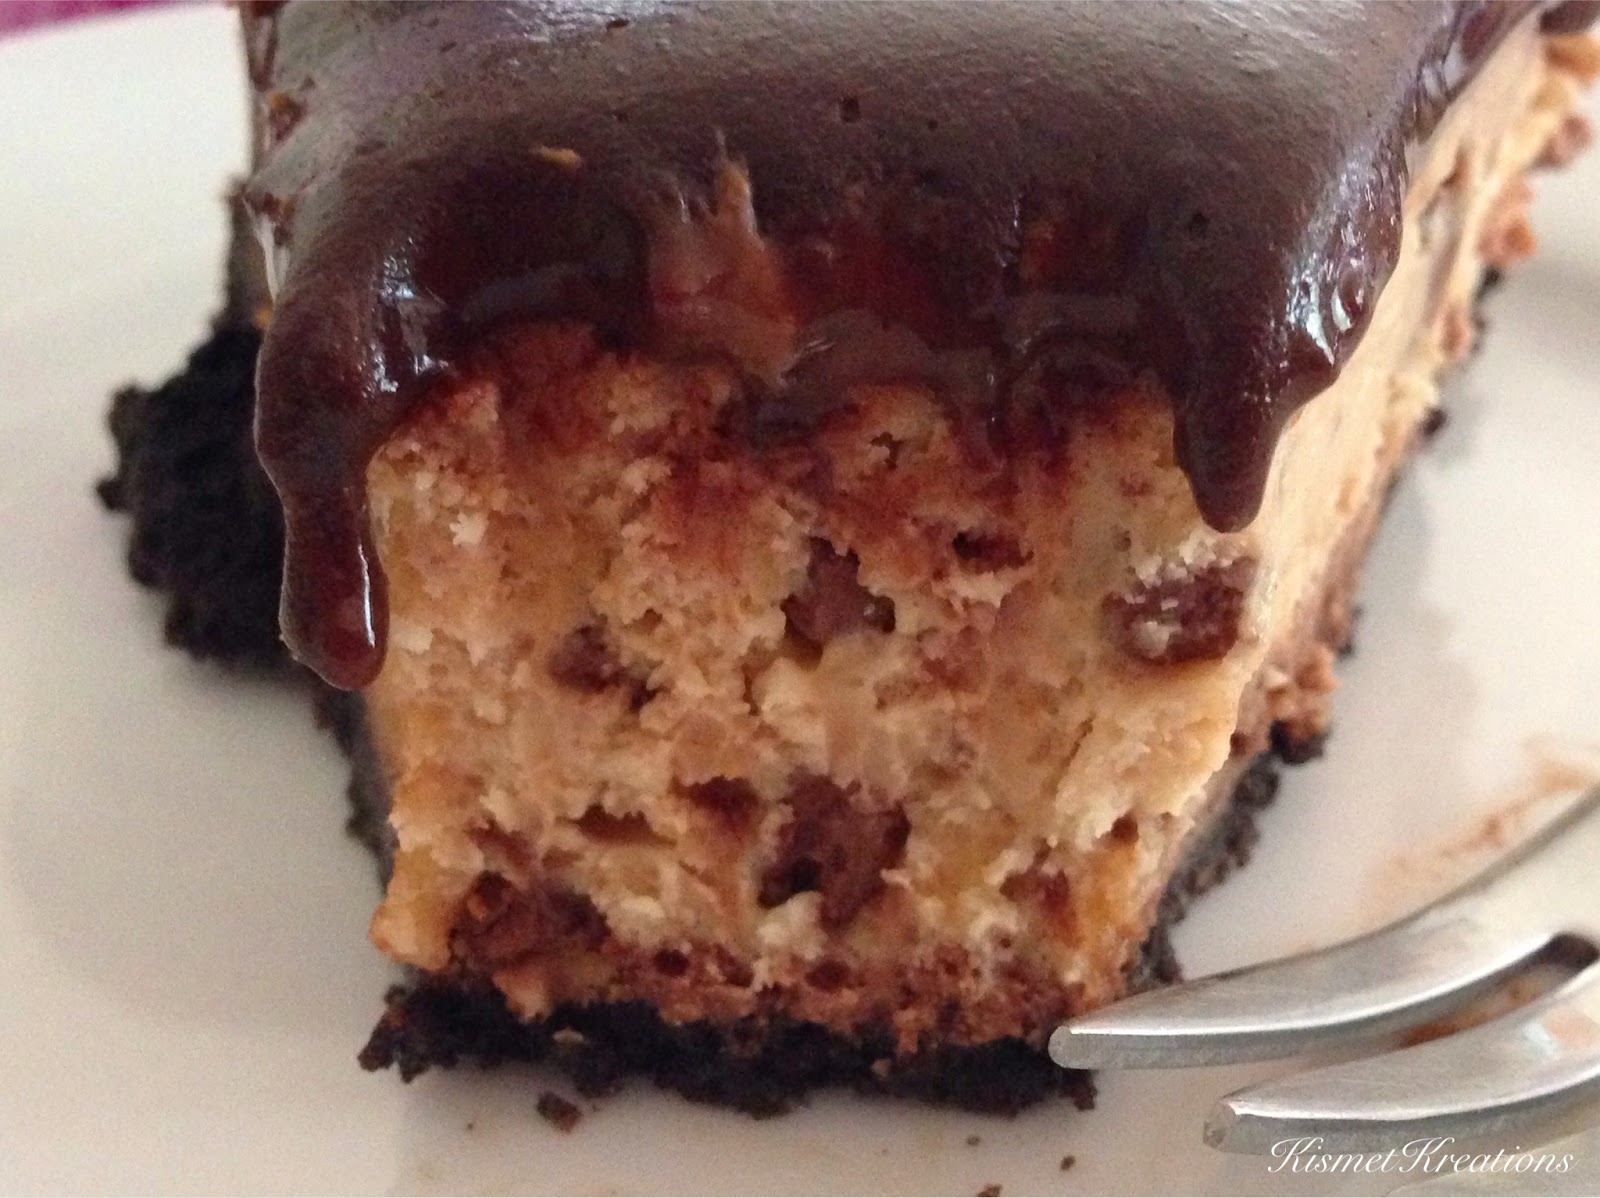
If you follow me on twitter or Instagram you may have seen the Chocolate Peanut Butter Cup Cheesecake I made for the Hubsters Birthday on Sunday. Usually he asks for a Chocolate Cheesecake which you can find HERE and this year he switched it up on me and asked for a Chocolate Peanut Butter Cheesecake.


 I’ve never made one and so I thought I’d give it a try! It was so good! It’s rich and peanut buttery and chocolaty all rolled into one! As I’m writing this post I’m actually wondering if it’s ok if that’s my lunch today. I’ve been known to eat cheesecake for breakfast before, not a chocolate peanut butter one but still. Ok so I probably won’t eat it for lunch but not because I don’t want to!

Ingredients:

4 pkgs Cream Cheese
4 Eggs
1 Cup Sugar
2 TBSP Cocoa Powder
½ Cup Peanut Butter
Reeces Peanut Butter Cup minis
2 cups Oreo Cookie Crumbs
1/3 cup Butter, melted

Topping:

1 cup Milk
1 cup Chocolate Chips

Directions:

Preheat the oven to 350 degrees. In a small bowl combine the cookie crumbs and the melted butter, mix until combined. In a large spring form pan pour in the crumbs and press them down so that they evenly cover the bottom and sides of the pan. Bake for 5 minutes, remove and let cool.

Meanwhile, chop ¾ of the bag of Peanut Butter Cups. Place the rest of the ingredients into the mixing bowl and stir until everything is combined and smooth. Then fold in the Peanut Butter Cups.

Pour the Cream Cheese mixture into the spring form Pan and bake for 25-30 min. The middle of the cheesecake should be set.

Let Cool then refrigerate overnight.

For the Topping:
Heat milk until it is warm but do not scaled it. Pour warm milk over the Chocolate Chips and stir until the chocolate is melted. Let cool slightly then pour over the top of the cheesecake. Top with remaining Peanut Butter Cups. Chill until ready to serve.


Enjoy

Friday, February 8, 2013

Chocolate Chocolate Cheesecake


fFFFFFFFFFFFFFFFFFFFF

Valentine’s Day! is just around the corner! We celebrated a little early this year since the Hubster was going to be gone. His favorite dessert is Chocolate Cheesecake. I decided to amp up the yum factor a little this time and make it double chocolate cheesecake, cause really the only thing better than chocolate is more chocolate. Now if I was to make it again I would make the chocolate topping into a ganache instead of just the melted chocolate, not because of the taste but simply because ganache is easier to cut through than hardened chocolate! J We will still celebrate Valentine’s Day just the man-child and I but I had to make the Hubster special things before he left. After all he is my Valentine!

Here’s what you’ll need:

2-8oz pkgs cream cheese

2 eggs

1tsp vanilla             

3/4 cup Sugar

3TBSP Coco Powder

3TBSP Sugar

3TBSP Butter

Graham Cracker Crust


Here’s how you make it:

Heat oven to 350 degrees. Combine Cream Cheese, eggs, sugar and vanilla and mix until creamy. In a medium sauce pan combine coco powder, sugar and butter, melt over low heat stirring continually so the chocolate doesn’t burn. Continue stirring until the chocolate is smooth remove from heat and let cool for a few minutes. Add a cup of the cream cheese mixture to the chocolate, stir. When it’s combined add it to the rest of the cream cheese mixture and stir until no white is showing. Pour into prepared graham cracker crust, bake for 35-40 minutes until it is set in the middle. Let cool. Meanwhile melt the chocolate chips in a double boiler (or at 30second intervals in the microwave) When melted pour and spread over the cheesecake. Place in the refrigerator for at least 4 hours or overnight.

ENJOY!

Friday, September 21, 2012

Nutella Cheesecake


Have you seen this recipe on Pinterest? I have and boy is it drool worthy?! So I decided to make this for my Birthday. The Hubster is super busy with Army stuff and I knew he wouldn’t have the time to “make” me a cake which is cool because well I don’t really like cake, and he could pick one up but well I really don’t like store bought cake. I know I know who doesn’t like cake right? I mean I don’t hate it, I just don’t love it! I’d rather have a brownie or cookies or cheesecake! It’s still cake right? lol So For my birthday this year I tried the Nutella Cheesecake recipe from mybakingaddiction. Ok a couple of tips before we begin. 1. Don't be like me and forget the vanilla! 2. Don't press the cookie crust too hard into the cup, it makes it very difficult to scoop out when eating and 3. Make smaller portions! The last one is really just so you can enjoy more of it! The recipe says it make 4-6 serving, I made 5 and felt like 6-8 would have been a decent size as well! It is a great easy recipe and the whole Family LOVED it!


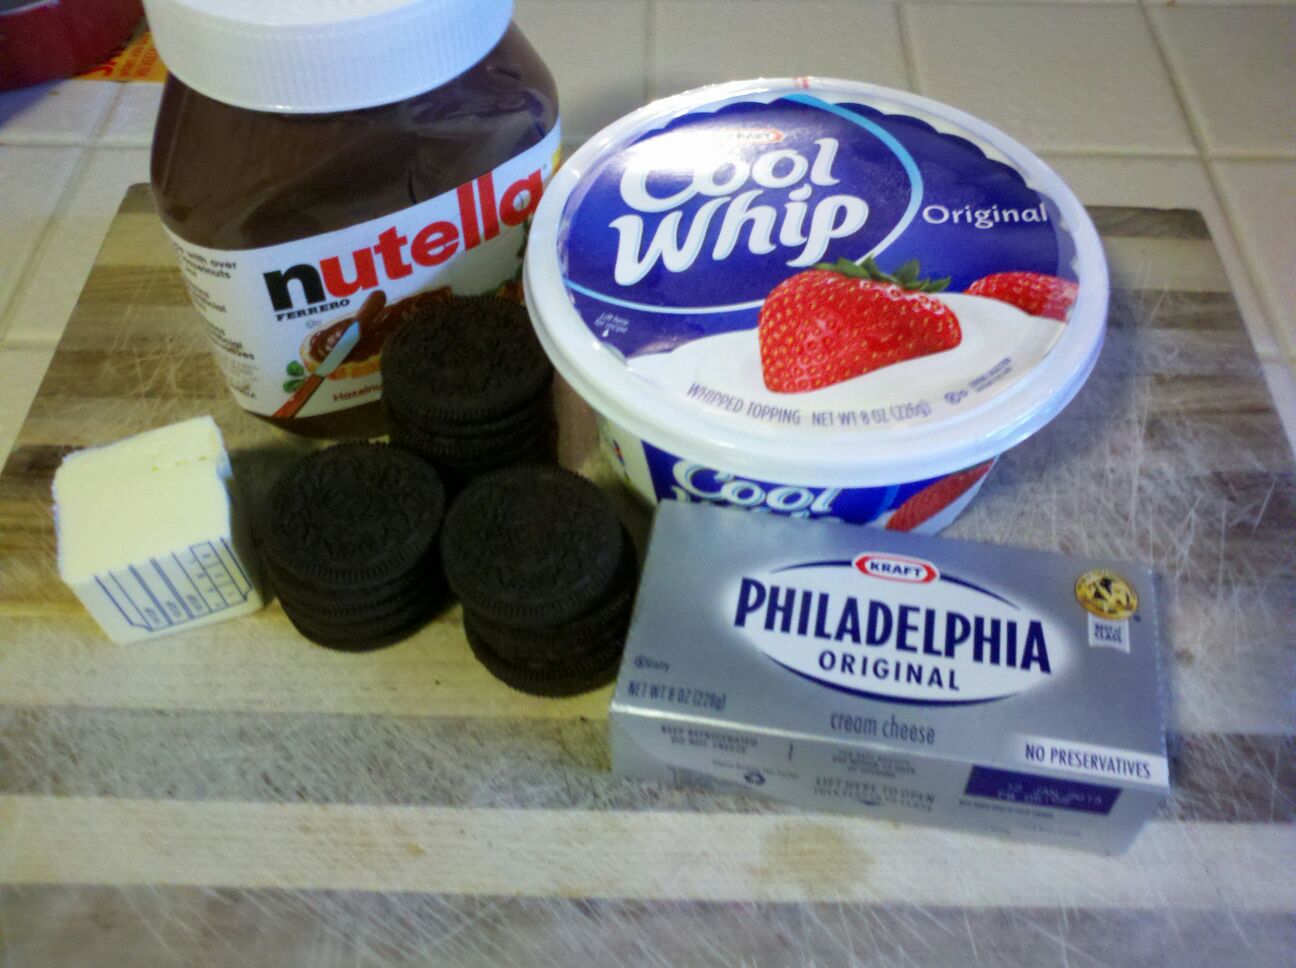
Here’s what you’ll need:
12 Oreo Cookies crushed
3 TBSP Melted Butter
8oz Cream Cheese, softened
2/3 cup Nutella
1 tsp vanilla
8oz container Cool Whip thawed
I used a rolling pin to crush my oreos
                                         I used my tart press to make the crust of the oreo but don't press too hard!


                                          Can you tell what I forgot? Yep the Vanilla!
                                  The recipe says to fold in the cool whip but I just mixed it in!
                                                             Looks Good to me!
                                      I put the plastic bag over a bowl to make filling easier
                                                                           YUM
Here’s how you make it:
    In a medium bowl, stir together the cookie crumbs and melted butter. Place a spoonful of the crumb mixture into each cup and press it in the bottoms of the dishes (I used my tart maker to press it down) to form a crust layer.
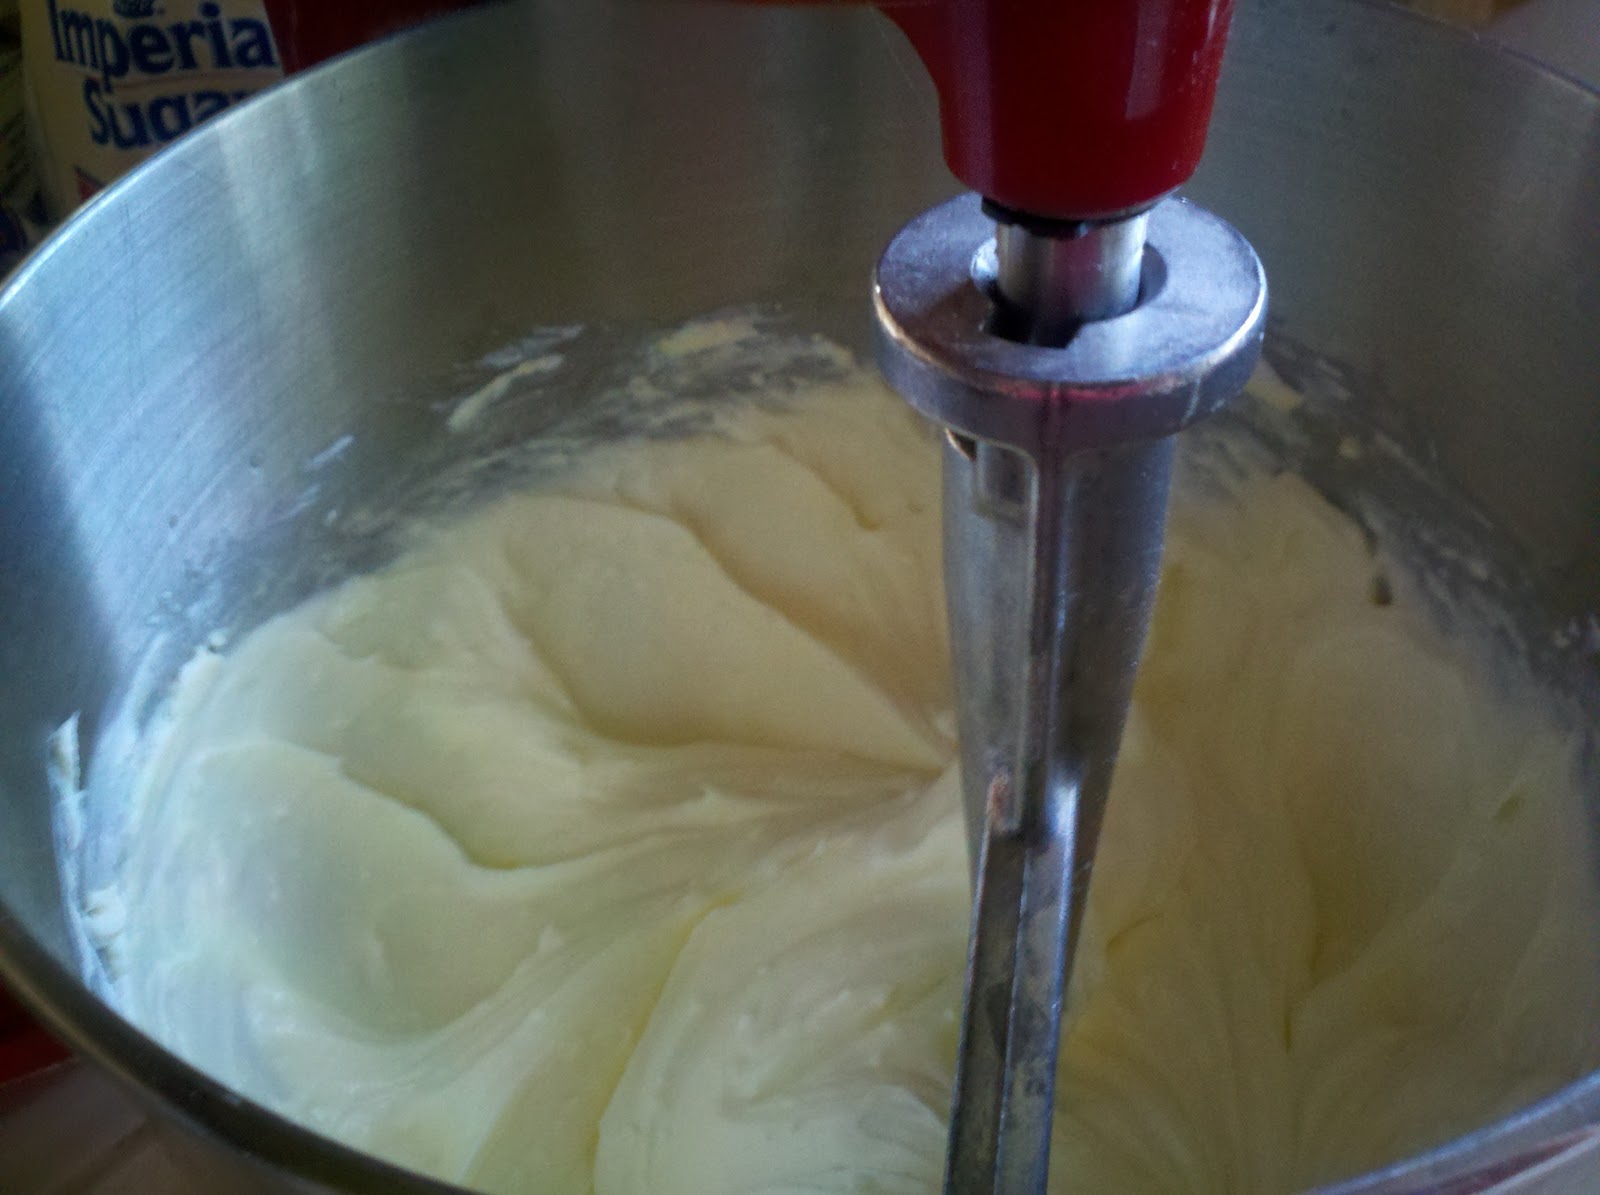
   In a large bowl, beat the cream cheese and Nutella until smooth. Add vanilla and the Cool Whip mix until no white is showing.
   Spoon the filling into each cup. Or scoop it into a Ziploc bag and cut the tip off to make it look a little more special. Cover with plastic wrap and refrigerate for at least 2 hours before serving.

ENJOY!