Friday, August 30, 2013

Copycat Recipe: Arizon Green Tea with Ginseng


Well it’s time again for my Resolution Update, This past month has been a little crazy and I don’t think I really have much to update! I am still getting on the healthy train, although my attendance at the gym was a little lacking, but I have gotten in some swimming and hiking! I haven’t lost anymore weight BUT I haven’t gained either! So YAY!
Man Child and I haven’t had lots of time for quality time but We are getting ready to finish up our school shopping and we are planning on making a day of it! It counts right?
Organizing? Weeelll… I did get a TON of new stuff from my Grandma that passed away this winter. I got a bunch of her craft supplies and fabric and some other mementos and when my Sister was here we did get it all sorted and put up, so that counts too right?
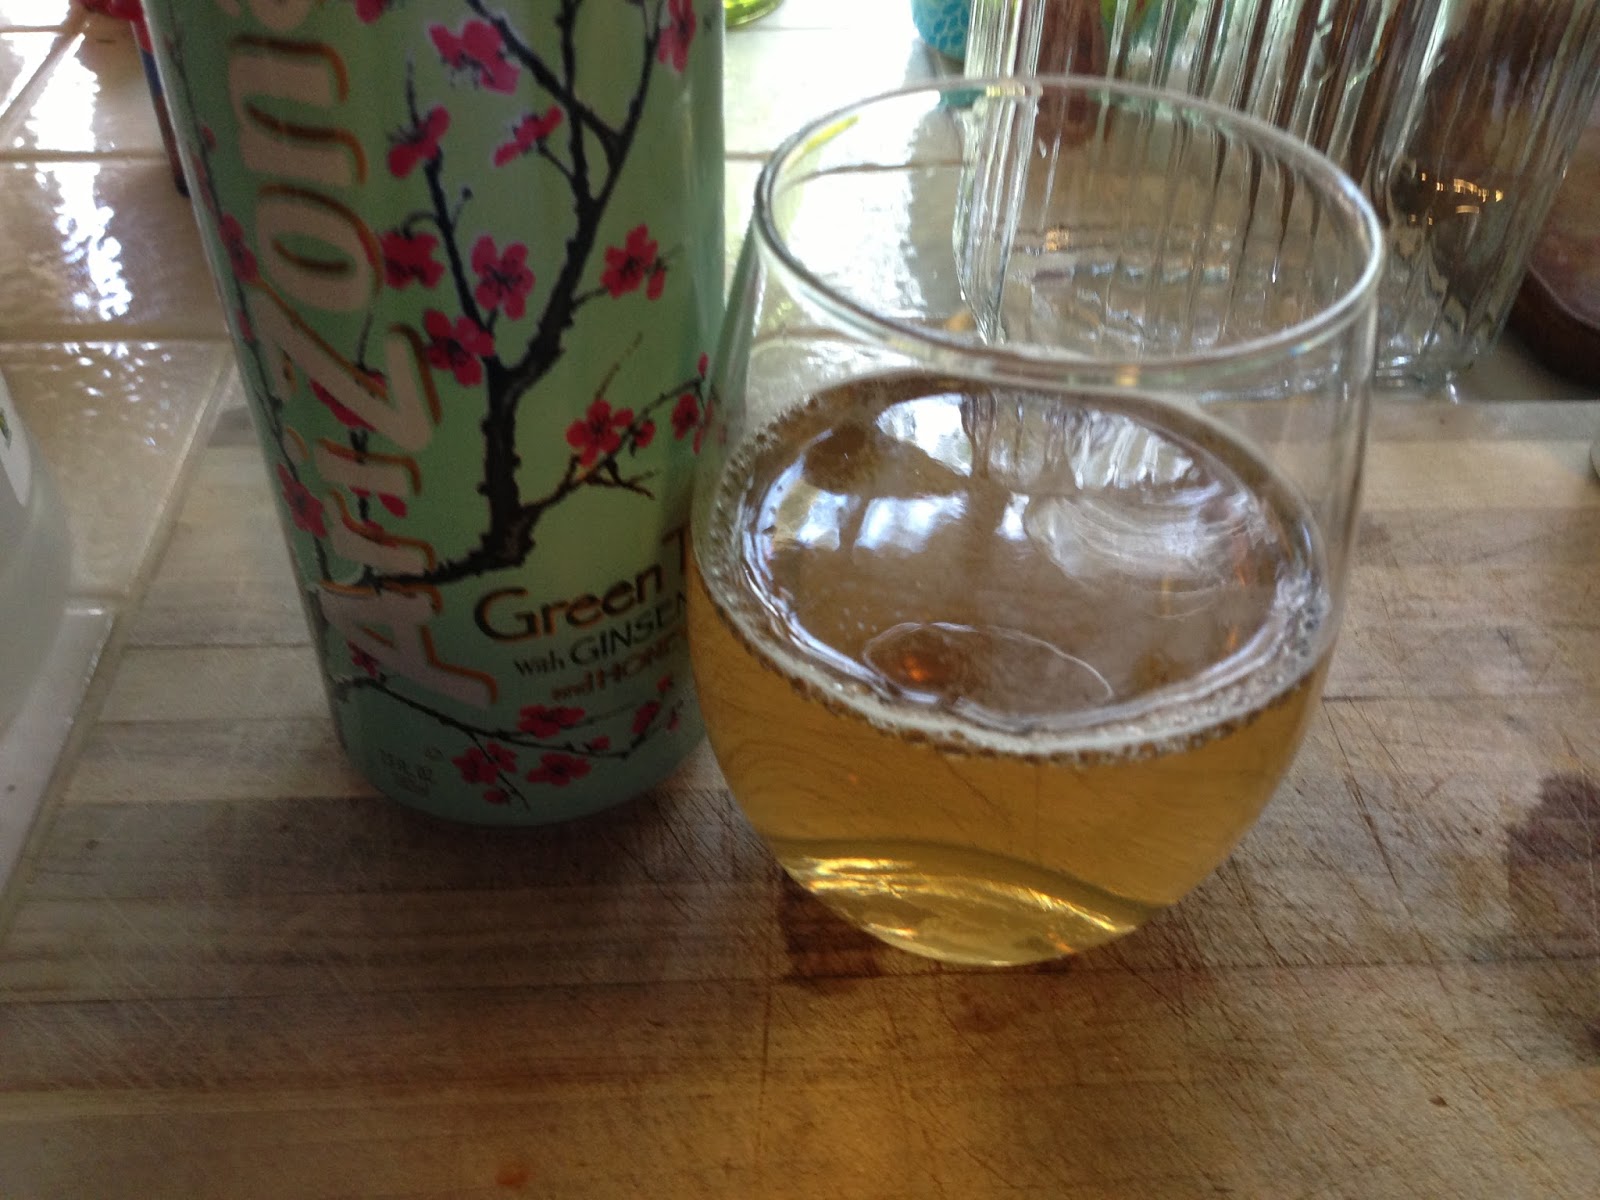
I have another Copycat Recipe for you! Arizona Green Tea with Ginseng!
I like that this version is a little healthier, in that it doesn’t have things like high fructose corn syrup! Plus anytime you can make something at home and 
save a few pennies it’s totally worth it right?

Here’s what you’ll need:
6-8 cups Boiling Water
4-5 Green Tea Bags
½ cup Honey
1 (0.35oz) bottle Ginseng
1TBSP Lemon Juice


Here’s how you make it:
Place the Tea Bags into a large bowl with a pourable spout. Add in the boiling water and let the tea steep for about 5 minutes. Remove the tea bags and add in the honey, ginseng and lemon juice. Stir until the honey is dissolved, Pour into a Drink Container and Chill until ready to serve. Serve over ice!


ENJOY

Wednesday, August 28, 2013

Junior Ranger Program

3 of the 4 badges of course we can't find the newest one ;)

Do you know a great way to have your children learn something, and get a cool souvenir at the same time? It’s the Jr. Ranger Program at all of our National parks! We do it at every National Park that we go to. And this year was no exception, when we went to Mount Rainier National Park with my Sister and her kiddos. I love it because they get a great (free) Souvenir (a Jr. Ranger Badge) and they learn a little something about the Park that they are visiting. We have done this at the Grand Canyon, Arches National Park and the St. Louis Arch and now Mount Rainier.


The packets that they get are geared towards different age groups from 5 and under to 12 and over. The activities are broken up so that they are easier for the littles, like coloring and connect the dots, and harder word searches and missing letter quizzes for the older kids.

They get this Certificate after they complete the book!


If you plan on going to a National Park anytime soon and you have kiddos plan on asking a Ranger about the Jr. Ranger program. It’s fun for everyone! I know we are planning on going to Mount Rushmore next year and we will be doing the JR Ranger program once again! Also for Military Families entrance into the National Parks is FREE!
3 of our new Jr. Rangers!


Want information about our National Parks? Go Here http://www.nps.gov
Check out the kids section too www.nps.gov/webrangers/

 What’s your favorite National Park?


Enjoy

Monday, August 26, 2013

Potato Salad


I can't believe that summer is coming to and end! I know many of you are already back into the swing of school, we still have another week of summer out here! I'm trying to get as much summer fun packed into this week as we can! It's been such a busy summer I don't know where the time went! That's a good thing for us though because it means that this deployment is almost over, bring on FALL! But maybe you have one last BBQ to go to this Labor Day weekend and you need to take something, why not take my Potato Salad!

Here's what you'll need:

Potatoes (2 per person)
Eggs (1 per person)
2-3 pickles chopped (I used Dill, but sweet work too)
Mayonnaise (add a cup or so then add more until its the creamy texture you like)
Mustard (for our Salad I used about 1/3 cup)
Paprika
Salt & Pepper to taste


Here's how you make it:

Wash the potatoes and place them into a large pot fill with water. Boil potatoes until they are fork tender. Drain and let cool. Meanwhile in another pot boil your eggs. Drain and let them cool as well. Peel the potatoes and cut them into cubes. Place into a large bowl. Peel and slice the eggs and add them to the bowl, leaving half of one egg out to use for garnish. Then add in the remaining ingredients except the Paprika. Stir until everything is combined. Then sprinkle the Paprika onto the top and place the remaining sliced egg on top. Chill until ready to eat!


ENJOY

Friday, August 23, 2013

A Year In Review


Wow I’ve been blogging for a YEAR! Well a year tomorrow but still! I can’t believe it’s been that long already! I feel like I’ve come so far, and yet still have so much to learn! I’m going to be trying to update the look of my blog over the next few months so bare with me on that! If you check back and it looks different, hopefully it’s for the better! I am the least tech savvy person I know so it may take a few tries to get it all up and running the way I want it! Any who I thought it would be fun to do a round-up of the top 5 posts I’ve shared with you all since I first started! It’s funny how there are some posts you think Oh man people are going to LOVE this one, yet hardly anyone looks at it, and others you feel like “eh” and they end up being the most viewed ones! I still can’t believe that people actually look at my blog, I mean besides my family, but they kind of have to. So I want to THANK YOU for checking my blog out! And if you are here for the first time I hope you like what you see and come back! Here are the top Posts of Kismet Kreations!


Which One was your favorite? Share it with me in the comments!


ENJOY

Wednesday, August 21, 2013

Button Button Who's Got the Button


My Mom has this great sewing room. Actually she has a great “Barn” that the entire upstairs, with the exception of one room, is her area. She has a craft area, a writing room and then the sewing room. It’s kind of a creative person’s paradise! I wanted to make her something to put in her sewing room, so I made this sewing machine button sign.

Here’s what you’ll need:

Buttons in the colors of your choice

A Picture of a sewing machine (I used Google Images)

A piece of wood, I got mine at Wal-Mart for $4!

Modge Podge

Paint brush

Here’s how you make it:

Cut the picture out. Glue it onto the wood. Glue the buttons to the picture. Apply an even coat of Modge Podge to the entire board. Let dry. After I was finished my sister said it would’ve been cool if I had put fabric in the background. It would’ve been a great idea! Or even painting the background. Do it however you like. If you do try it let me know send me a pic I’d love to see what everyone else is doing!


ENJOY

Monday, August 19, 2013

Cinnamon Roll Biscuits


My sister and her kiddos came up to visit us last week and we had such a good time! It was such a change for me trying to figure out what to feed 6 people for every meal instead of just 2 or 3 that I usually have to feed! For breakfast one morning I decided to make Cinnamon Roll Biscuits. It was a recipe that my sister had brought with her. I like how easy they were to make and how quickly they were done! I have to admit I forgot to set the timer and the bottoms got a little burnt brown! I also didn’t have the powdered sugar which I swear I had but we couldn’t find it, so we didn’t have a glaze on top!

Here’s what you’ll need:

3-4 cups Bisques

1 ¼ cups Milk

1 egg

¼ cup Sugar

2 tsp Cinnamon

½ cup Brown Sugar

¼ cup Butter, melted
Glaze
1 cup Powdered Sugar

¼ cup Heavy Cream


Here’s how you make it:

Heat oven to 425°F. Spray 9-inch round cake pan with cooking spray. In a small bowl, mix brown sugar and cinnamon; set aside. In a large bowl, stir Bisquick, sugar, milk and egg until dough forms. Place dough on surface sprinkled with additional Bisquick; knead 5 times. Roll dough into 16x12- inch rectangle. Brush with 2 tablespoons of the melted butter; sprinkle evenly with brown sugar mixture. Starting at short side, roll up tightly; pinch edge of dough to seal well. Cut into 1 1/2-inch slices. In pan, place slices, cut sides down. Brush with remaining 2 tablespoons melted butter, Bake 20 to 25 minutes or until golden brown. Cool 5 minutes. Remove from pan. In small bowl, mix powdered sugar and whipping cream until smooth. Spread glaze over rolls. Serve warm.


ENJOY

Wednesday, August 14, 2013

Blackberry Jam


This summer we got to pick blackberries at my Mom’s they are all over the place down there! Actually funny story when I was about 10 I got in trouble for something, no idea what it was now, and my punishment was to pick a small bowl of berries, well I decided that I would be “smart” and just use the berries my Mom had already picked that were in the fridge. Well of course my Mom found out and so my punishment for lying about the berries was that I had to pick the berries for a whole week. We had blackberries forever after that and actually I became really good at making Blackberry pies. But I never learned to make Blackberry Jam. So this summer my Mom taught me how to make the Jam!
Man -Child and my nephews picking berries
My Sister got in on the berry picking  and  ended up pruning the berry vines to get to all the good berries!
My niece was over berry picking, she wanted to go jump on the trampoline!

Here’s what you’ll need:

10 cups Blackberries

14 cups Sugar

2 pkgs Pectin

Jars and Lids for canning (we ended up with 12 jars)


Here’s how you make it:

Rinse your berries. Place them into a large pot and mash them, if you want you can strain the berries to reduce the amount of seeds in the Jam, I didn’t do this step. Measure out your sugar and set aside. Place your clean jars and lids in a water bath simmering on the stovetop. Turn the stove to high and bring the berries and pectin to a boil, stirring constantly. When it comes to a full boil, that can’t be stirred down, add the sugar and keep stirring and bring it to a full boil again. Remove from heat, and scoop out the foam on top. Grab a jar from the water bath and pour the jam into the jar being careful to not get any on the rim. Wipe the rim and place on the lid and tighten down the ring. Set on the counter to let it seal. It is sealed when you hear it “pop” You can also push down on the lid if it doesn’t go in it isn’t sealed. If it doesn’t seal you will need to refrigerate the Jam.

ENJOY!

Monday, August 12, 2013

Chili Relleno Quiche


While we were down visiting in California it just so happened to be my Mom’s Birthday. She really likes Chili Relleno’s so when my sister sent me this recipe I knew what I was going to make my Mom for her Birthday Breakfast. Growing up her and her friends would sometimes have brunch and my Mom always made different Quiches. I like that they always taste really good and yet are so simple to make. The Hubster even likes quiche, although he may not admit that to many people! He probally wouldn’t like this one, ok well he would if he tried it but the green things inside would give him pause. Sometime I wonder if I blindfolded him and fed him if he wouldn’t eat more?! If you haven’t made a quiche before give this one a try and let me know what you think!

Here’s what you’ll need:

Pie Dough for single crust Pie

2 TBSP Cornmeal

1 ½ cups Monterey Jack Cheese

1 cup Cheddar Cheese

1 can (4oz) chopped Green Chilies

3 eggs

¾ cup Sour Cream

1 TBSP minced fresh Cilantro (optional)

2-4 drops Hot Pepper Sauce (optional)


Here’s how you make it:

Line unpicked party shell with a double thickness of heavy duty foil. Bake at 450 degrees for 8 minutes. Remove foil; bake 5 minutes longer. Cool on a wire rack. Reduce oven temperature to 350 degrees.

Sprinkle cornmeal over bottom of pastry shell. In s small bowl combine cheeses, set aside ½ cup for topping. Add Chilies to remaining cheese mixture sprinkle into crust. In the same bowl whish the eggs, sour cream, cilantro and pepper sauce (if using). Pour into crust, sprinkle with remaining cheese mixture.

Bake for 35-40 minutes or until a knife inserted near the center comes out clean. Let stand for 5 minutes before cutting.
ENJOY!